This assembly is held together with 9 screws. A little jeweler's screwdriver has a narrow enough shank but still offers enough grip. The screws aren't exactly tightened to a high torque anyway; just snug. The grey base is clipped to the undercarriage so a little finesse is needed to separate them.

The undercarriage:

The nose piece has a little hole which goes over one of the screw channels. The hole is about 4.9mm, just a touch too big to get any good clutch on a stud. It does have a part number molded in though!

The grey base is still attached with two screws.

Remove the two screws and the base is free.

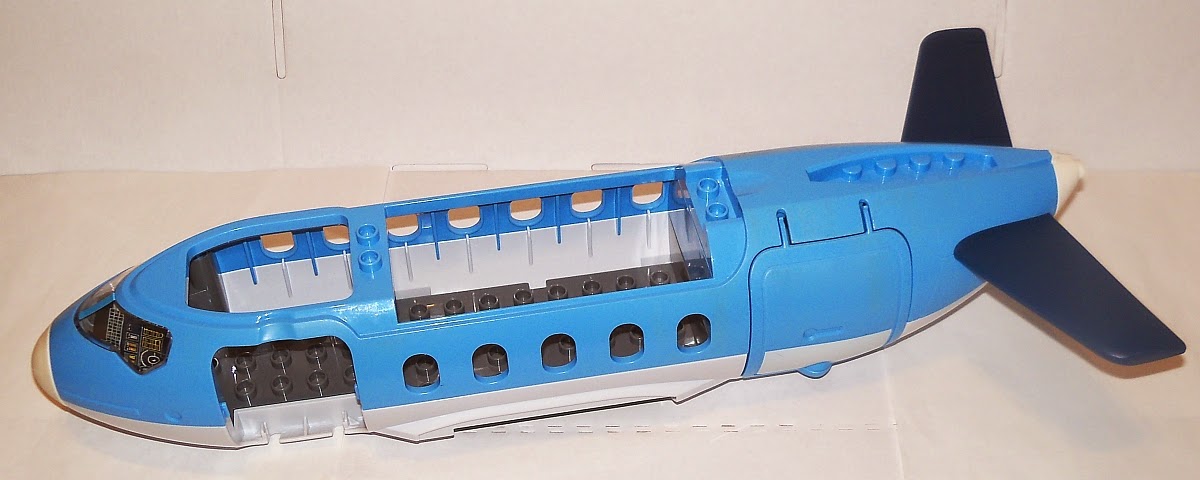
The windshield can be removed from the fuselage. It clips ever so slightly into the windshield hole in the front of the plane. A little more finesse here and it slides right off.

Two more screws remove a back panel from the plane.

The tail is now loose. Those little nubs are larger than a system stud but too small to clip into Duplo studs.

The tail cone can now slide off too.

We are left with the main fuselage, stripped of all parts.

Total count, 8 pieces assembled as one. Also 13 screws, all the same size.

Unfortunately none of these parts have any hidden gems for working with system. Some of the holes in parts (such as the rubber cones) that pass over the screw channels can have bars and axles put through them. I suppose they could be used for sculpting a Bionicle or Constraction type figure. The windshield might have some fun uses for a large building or maybe a better Invisible Jet? If my kids didn't want this thing back together so quickly, I might try doing just that.
I've tried adding these types of parts to the Bricklink catalog before but they were denied. Expect to see these in the Brick Owl catalog in the very near future!
No comments:
Post a Comment